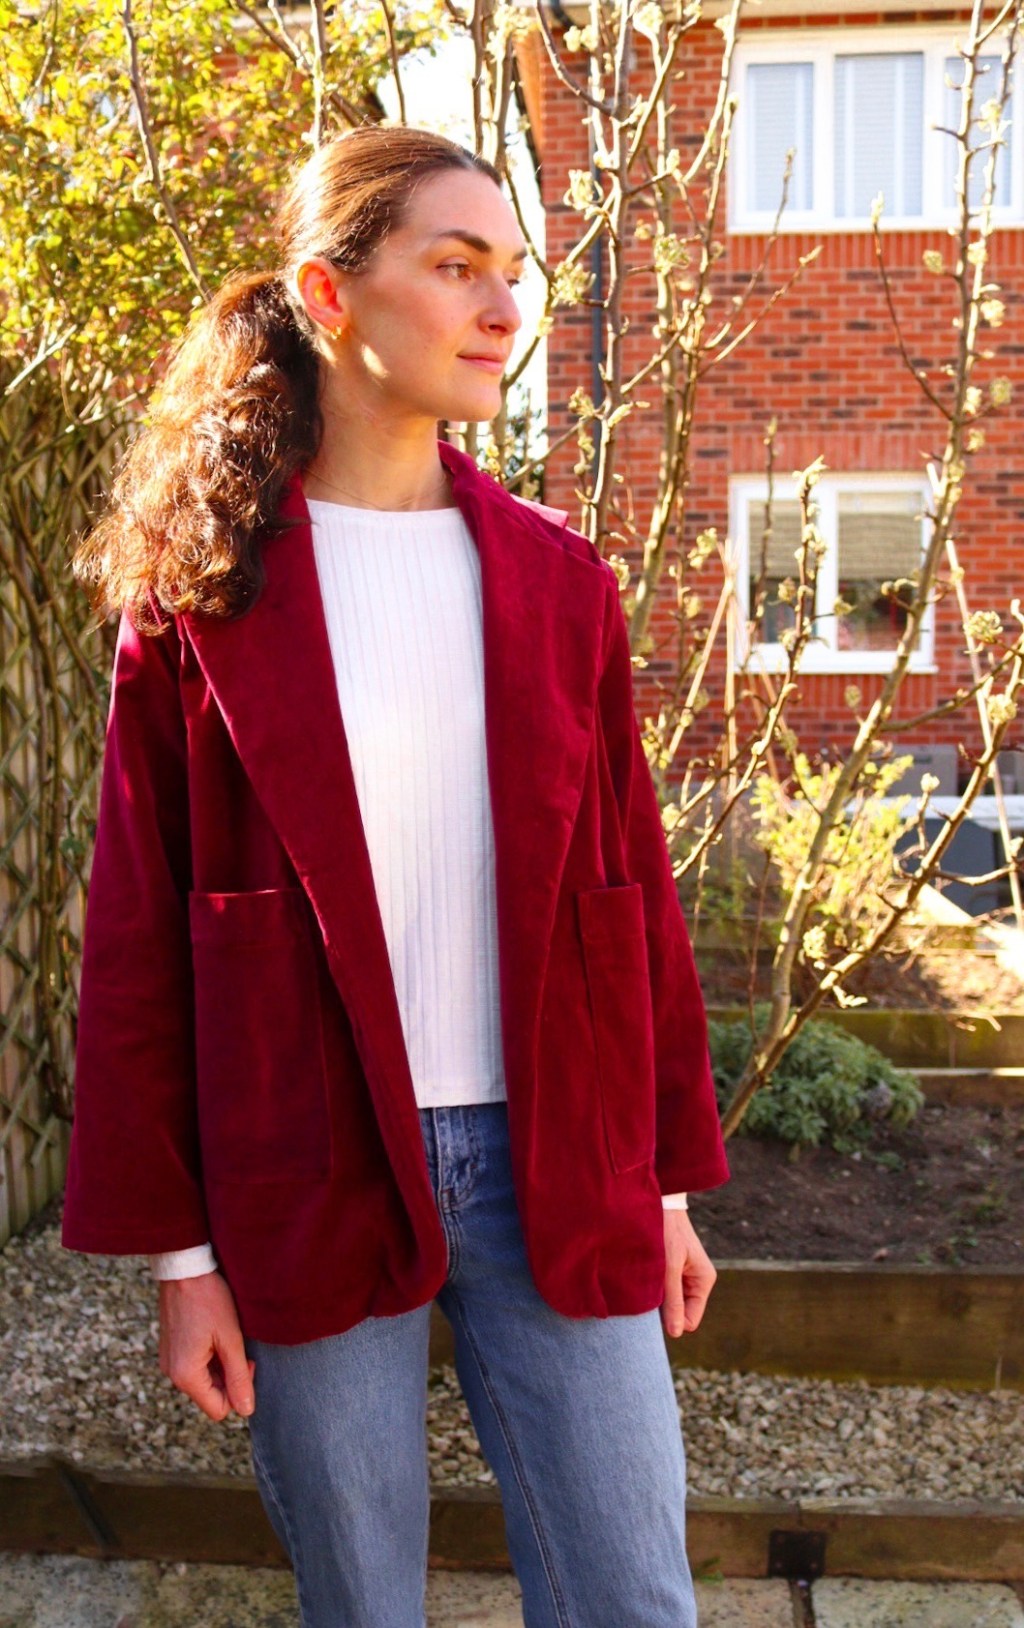
Few pieces in my wardrobe hold the level of versatility embodied by my humble blazer. Paired with dresses to jeans, formal outings to casual coffee meet-ups, it is a sartorial workhorse, a garment I couldn’t be without. I currently own three blazers – one black shop-bought, a second-hand tweed variation and now this oversized plum velvet version.
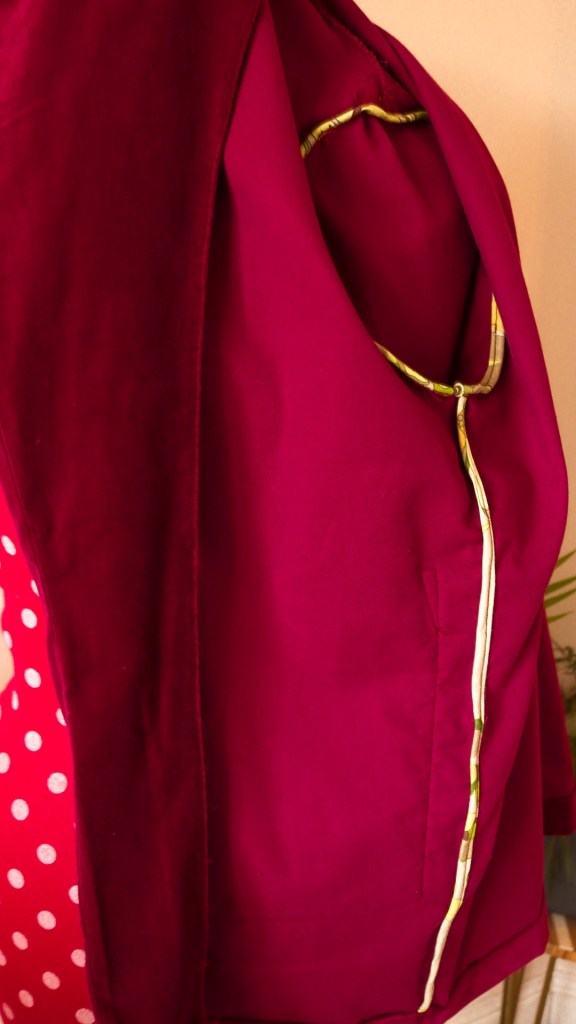
This oversized blazer is ideal for elevating a range of outfits and offers the chance to create a fun interior with the addition of bias-bound seams.
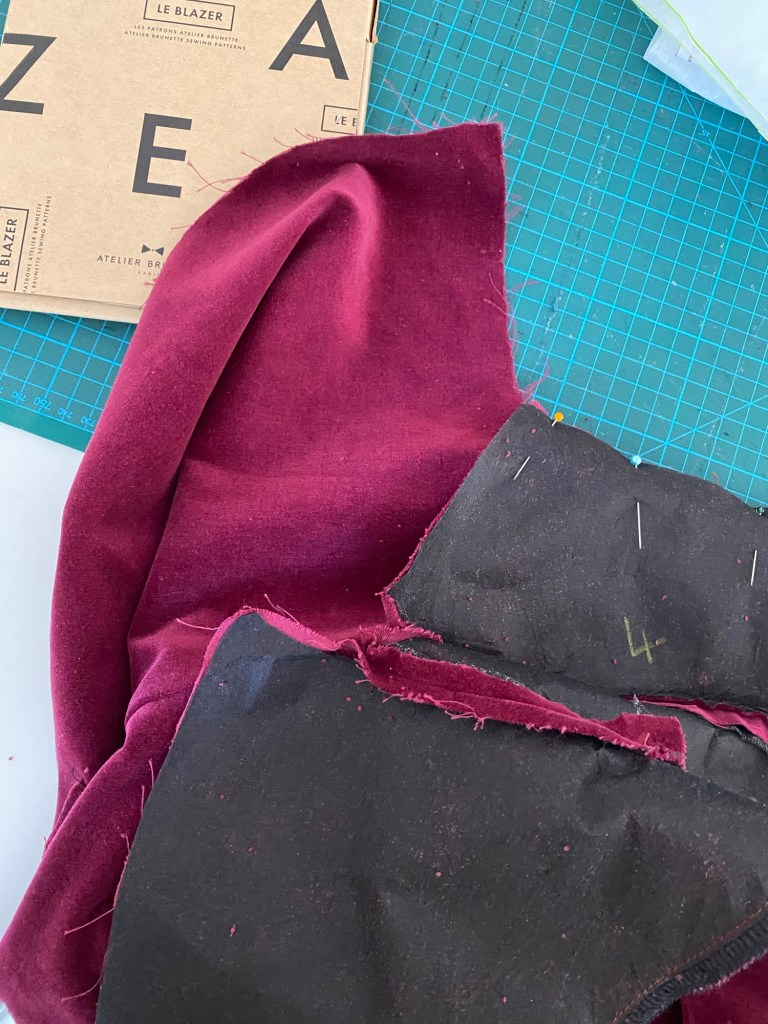
While I plan to pair Le Blazer pattern with Atelier Brunette’s gabardine fabric, I wanted a little practice run first, so I decided to use this woven velvet fabric I already had in my stash.
First impressions
Le Blazer pattern is intended for intermediate sewists since it incorporates some trickier techniques. Personally, I prefer pattern instructions to offer a bit more detail as there were some elements of the construction I wasn’t super confident with. For instance, I made my own bias binding for the project, but it turned out to be too narrow, and I also wasn’t familiar with how to attach it. However, there are plenty of videos on YouTube to help with this if you need it.
Next time, I would also be inclined to buy shop-bought binding as it gives that neat, crisp edge. Atelier Brunette sells their own range which would pair really nicely with Atelier Brunette fabric.
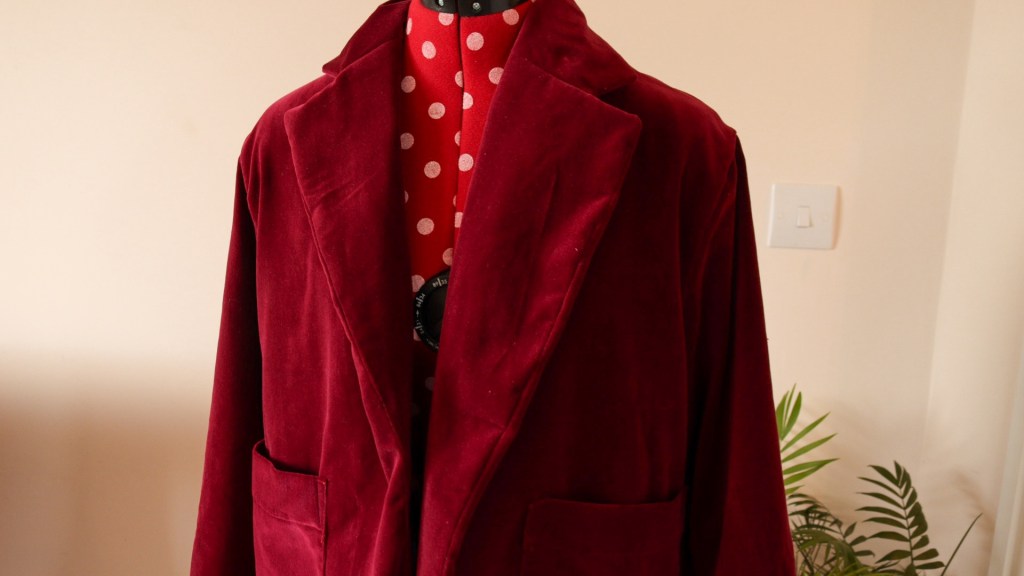
Pattern pieces feature lettered markings to support the assembly, which was helpful. Be sure to mark these clearly on your fabric, as they are essential when constructing trickier elements like the collar.

Fabric choices
I intend to purchase Atelier Brunette’s lightweight gabardine for my next Le Blazer project; fabric with a little more rigidity than the velvet I used would work; plus, a lighter colourway for spring and summer would be ideal.
Sizing and construction
I cut out a size 38 based on my measurements. I love the oversized look of the blazer; if you are between sizes, I recommend sizing up.
I also used tracing paper; I’ve started introducing this recently, as it’s helpful if you need to cut a different size in the future.
Overall, the construction is pretty straightforward. It took me while to figure out the collar construction, but once I’d remarked the letters on the fabric it was easier.
I didn’t quite achieve the neatness I wanted when folding the bottom hem – those letter markings are so important! – so that’s something I need to watch out for next time I make this garment.
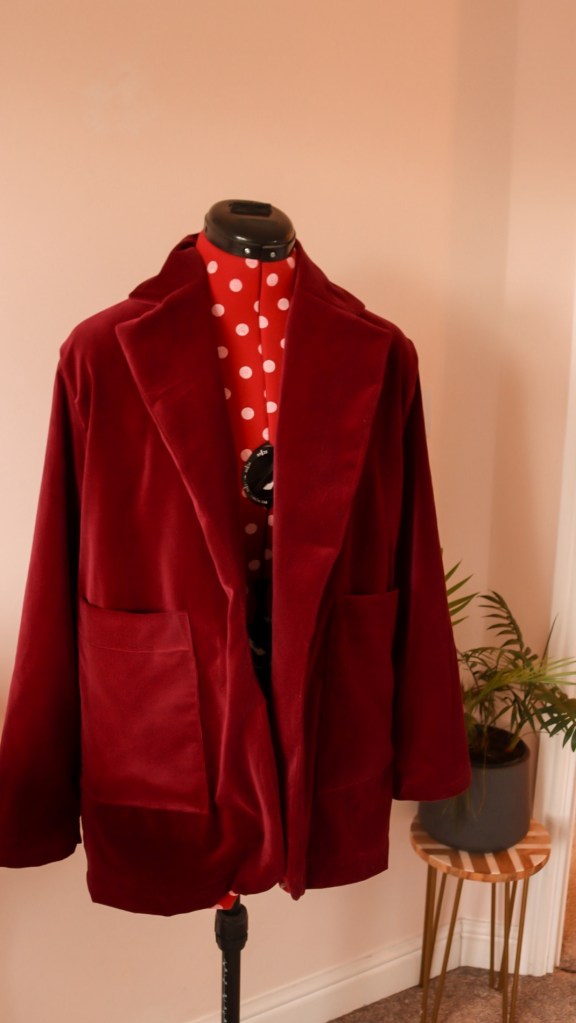
I’m looking forward to pairing this pattern with Atelier Brunette’s gabardine; I love this velvet look, but it doesn’t sit as flat as I’d like. However, it is a great piece to wear during the cooler months.
