
A key intention for my handmade wardrobe lately has been to sew more layering pieces. A knitted-style cardigan was high on the agenda, so when I came across this soft-knit fabric and simultaneously spotted the I AM Patterns Gaston pattern, it seemed like the perfect pairing.
The I AM Gaston pattern
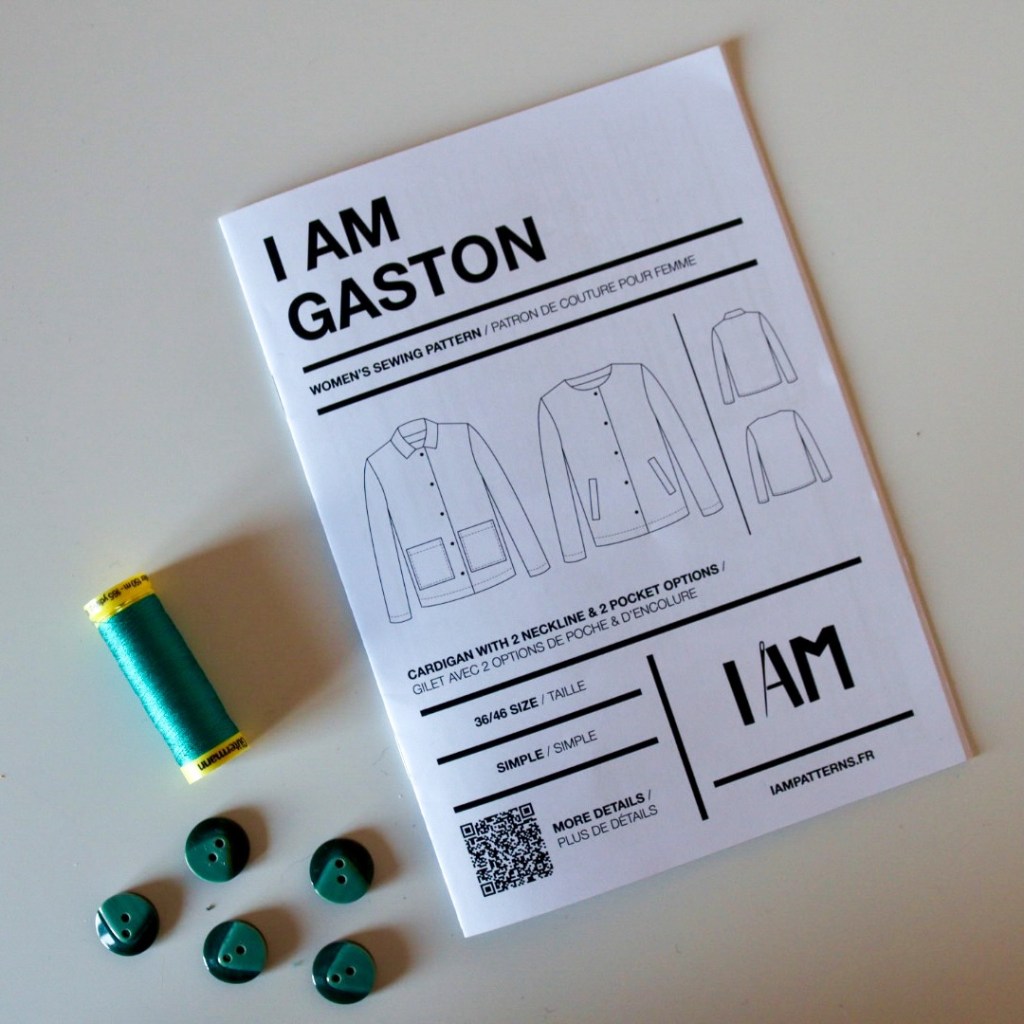
The I AM Gaston jacket/cardigan is a beginner-friendly pattern with more advanced but optional additions, including a collar and pockets. I’d been searching for a crew-neck style cardigan and had considered the Wardrobe by Me Balloon cardi and the Style Arc Saskia cardi; however, Gaston aligned more with the cropped boxy shape I wanted to create.

Choosing fabric for the I AM Gaston pattern
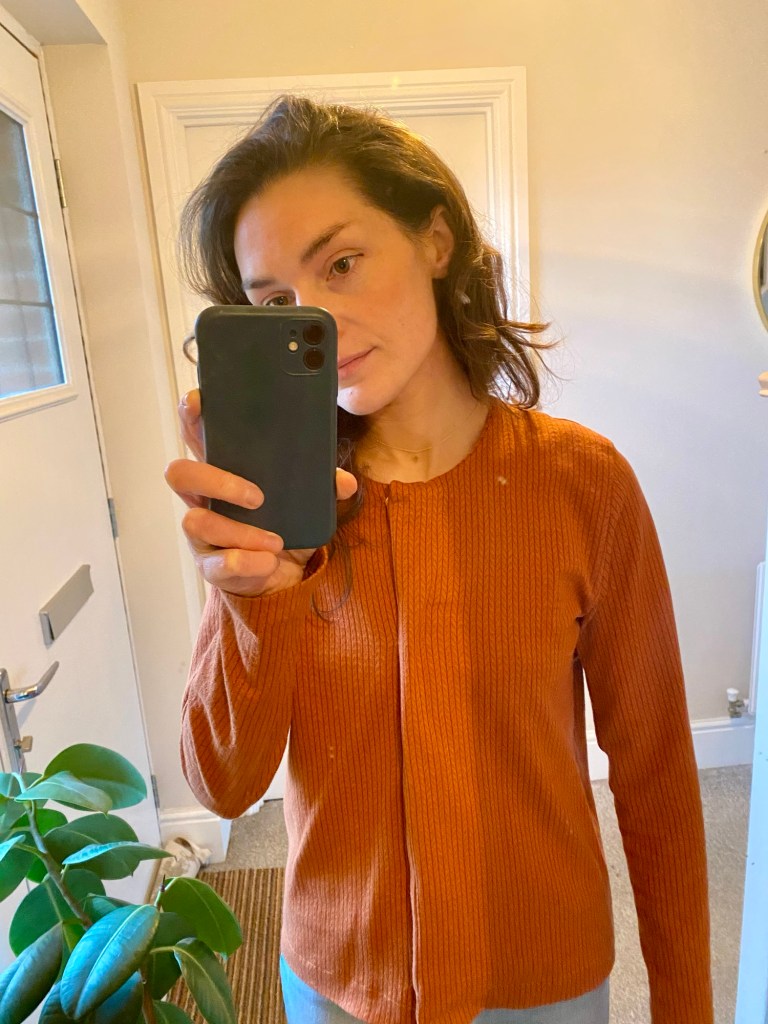
The pattern is designed for medium-weight knit fabrics, but you could also adapt the pattern to suit woven fabrics. I purchased 1.5m of this soft viscose knit from Sew Me Sunshine; it’s 320gsm with a 60% crosswise and 30% lengthwise stretch, so it works well for cosy casual wear. Before sewing with this fabric, I made a practice version using some lighter-weight jersey, which was beneficial to get an idea of fit and where tweaks to the pattern could be made. I opted for a smaller UK size 8 to make the more fitted version pictured below. I wanted the green version to have a looser, boxier fit, so I cut a UK size 10. For reference, my measurements are bust 32, waist 28, and hips 37.


Sewing machine and overlocker settings
It’s been a while since I sewed with thicker stretch fabric and a lot longer since I’d completed a garment predominantly on the overlocker. Figuring out the settings for my overlocker took longer than the actual garment sewing. I tend only to use my overlocker to finish the edges on fabrics, so I wanted to get the settings right so I could sew the garment entirely on the overlocker. After watching a few YouTube videos (this one was particularly helpful), I set all my thread tensions to 3, tested varying stitch lengths, and adjusted the differential feed. I still didn’t feel completely confident with these settings, as the fabric didn’t always feed through smoothly, but after several attempts, I decided on a stitch length set to 2 and the differential feed was set to 1.8.
I also did some stitching on my regular sewing machine and used Maraflex thread, which allows you to sew straight stretch stitches. For the buttonholes, I placed interfacing between the facing and cardigan shell and also between the sewing machine plate and fabric and set the thread tension to 3 and the pressure foot dial to 4.
Tips for completing the garment
Gaston is a straightforward make, but some additional tweaks I did during the construction included under-stitching the facing to help keep it in place. I also added hemming tape to the entire facing to help keep it in place and sewed a stitch in the ditch at the shoulder seams. Additionally, I reduced the bodice length by 4 inches to create the boxy style. The pattern uses snap fasteners; these are probably fine for thicker fabrics, but they tend to pull a bit on the lighter-weight jersey I initially used. I knew I wanted a buttoned cardigan, but the good thing about snap fasteners is that they’re easy to install.

The final thing to note is that the seam allowance is set at 7mm; I found this tricky to gauge on both my overlocker and sewing machine. Most of the time, I lined the fabric up with the 3/8 inch line, so a piece of tape to ascertain the seam allowance line would be a good option. If you add buttons instead of snap fasteners, I recommend placing interfacing between the machine and your fabric. This helps feed the thicker fabric through the machine more smoothly; a walking foot might also be helpful here. Be sure to test your stitches on scrap fabric before you sew.

Next time I use this pattern
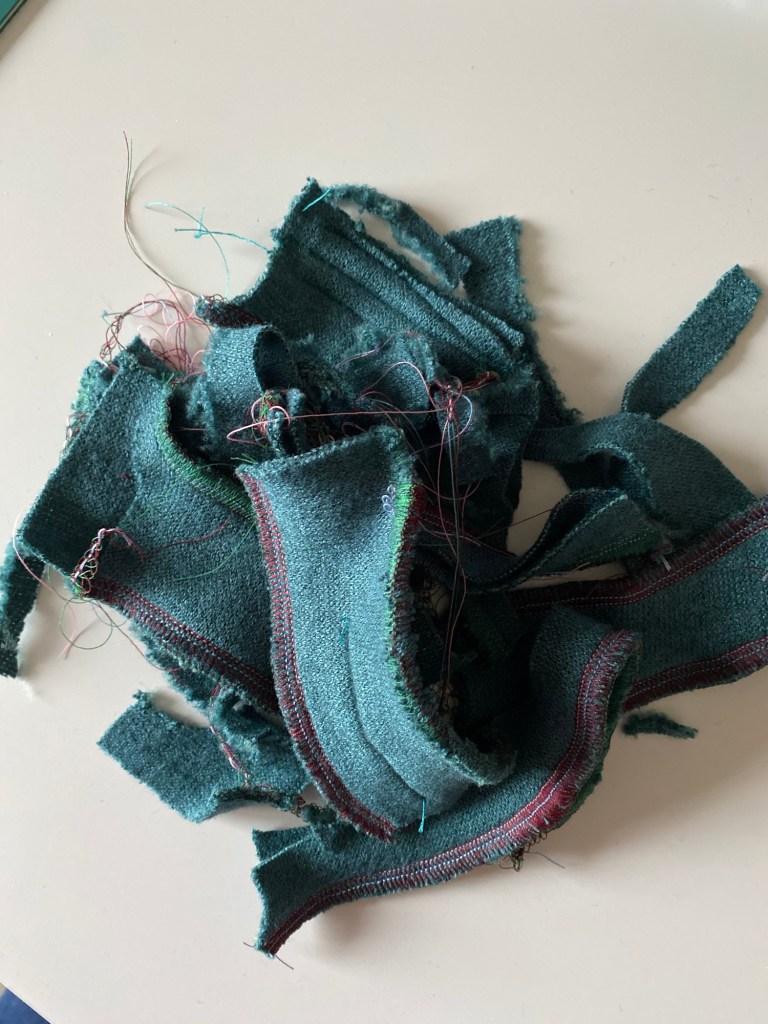
The I AM Gaston pattern is honestly one of the most enjoyable projects of late and is one I will definitely use and adapt in the future; I love all the garment options it has and how easy it is to sew – once my machine settings are correct! I’ll do some overlocker troubleshooting again to ensure the settings are right for this project, as it makes the whole construction much quicker. Next time, I’d also add the optional bias binding. Because some of the overlocked stitches were close together, adding bias binding would have weighed the garment down. Lining the jacket is also another option; I love this version created by @loamaol, the bow buttons are so cute.
Have you sewn this pattern? How did you find it?

One response to “Layering Made Easy: I AM Gaston Cardigan”
I’m full of admiration. Well done 🤗
LikeLike